This post contains some affiliate links for your convenience which means if you make a purchase after clicking a link I will earn a small commission at no extra cost to you. Read the policy.
As I told you in my Are you afraid of your cutting machine? post, I recently started playing with my Cricut Maker. Jennifer Maker is my virtual coach – and I still have SO MUCH to learn – but she also inspires me. And it was one of her projects that started the idea of this mixed-media T-shirt embellishment.
The T-shirt Embellishment Idea
When I was looking for an easy cutting project to try, I came across this beauty and made not one but two of these canvasses as gifts. A friend of mine saw pictures and thought it would look great on a T-shirt. Her idea was to use the Cricut Maker to cut all the flowers out of fabric and sew them onto a T-shirt for a cool 3D effect.
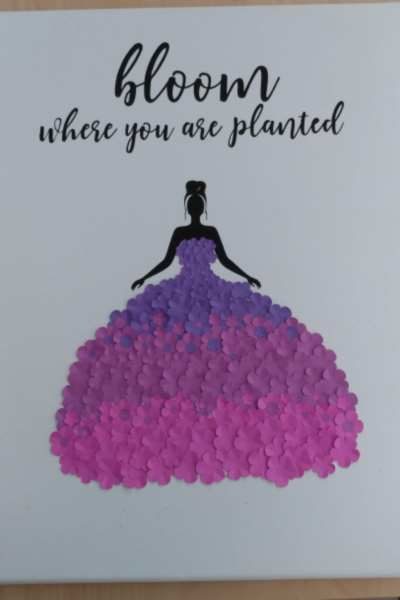
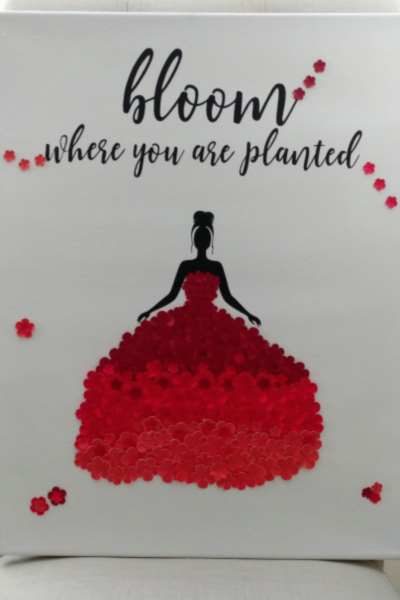
I was thrilled and ordered a fat square in shades of pink before my sister pointed out that without finishing the edges of each flower, the T-shirt could never be washed! Oh no! How do we get that 3D effect now? Well, maybe I could just crochet the flowers! Crocheted appliques make excellent T-shirt embellishments.
T-shirt Embellishment Process
The main issue with crocheted flowers (to be used on a T-shirt) would be their size. Obviously, if you want to crochet 3 or 4 large flowers to embellish a T-shirt, that’s perfectly fine. However, this particular embellishment calls for A TON of small flowers. Lucy has this highly addictive pattern I had used in wreaths before.
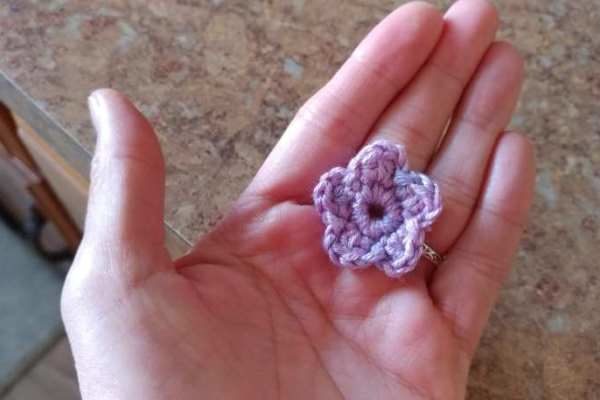
I had a really old 50-gram skein of self-striping yarn in my stash that I no longer can find anywhere, but you don’t need self-striping yarn at all. I just really liked the effect after making the first few flowers…
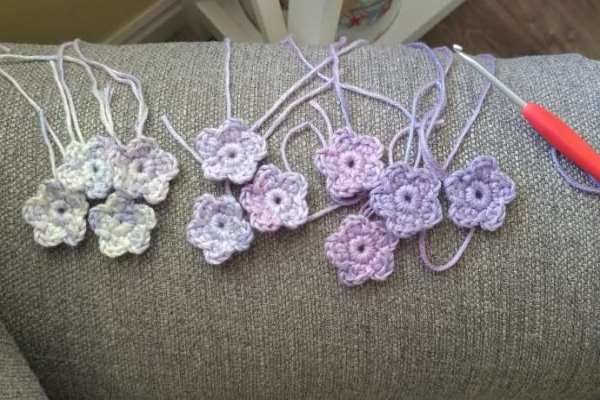
And I ended up using the whole skein, although only 56 flowers were needed for the T-shirt embellishment.
T-shirt Embellishment Alterations
I know what you want to say: There are so many different yarn weights, you can make these flowers in several different sizes just by using thinner/thicker yarn. And you’re right, you absolutely can. Unfortunately, I would go blind if I tried to crochet these teeny tiny flowers in lace-weight yarn. That’s why I chose to go one size for the skirt flowers and SEQUINS for the bodice.
Now, I had never sewn on sequins in a pattern before so this was a great opportunity to learn, right? First, I needed to find flower-shaped sequins to sort of match the crocheted flowers – Amazon to the rescue! These sequins are beautiful, exactly what I needed, and one bag will let you embellish A LOT. Second, I needed a good tutorial – this one worked really well for me:
Step-by-Step
Step 1
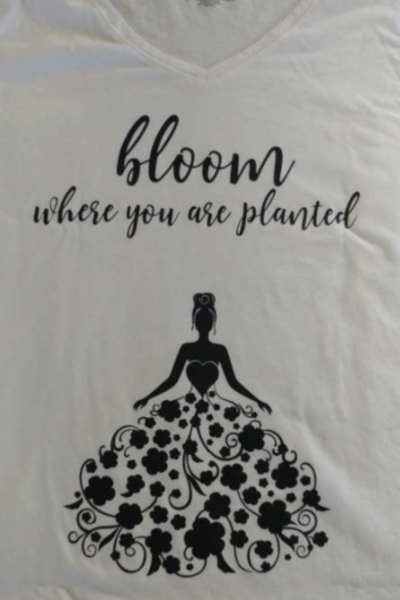
Get Jennifer’s pattern then cut the flower girl and sentiment (optional) from iron-on vinyl (HTV) and apply it to a T-shirt.
Step 2
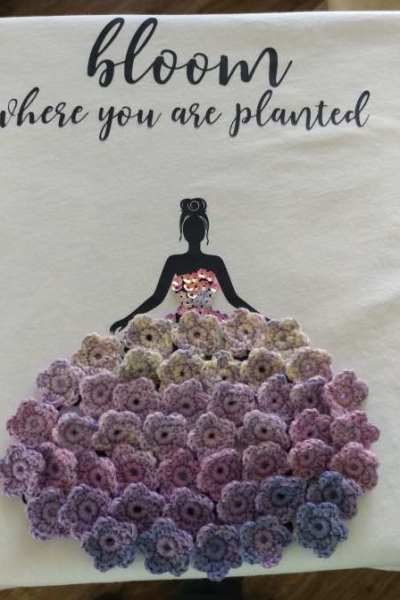
Place the sequins and the crocheted flowers onto the T-shirt to see how it will look, if you have enough of them, and anything else that might come up.
Step 3
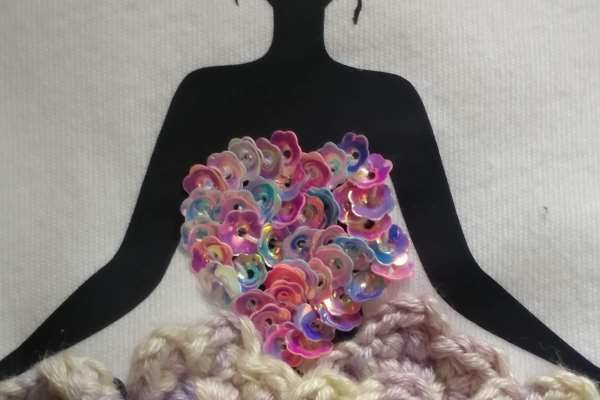
Sew the sequins onto the bodice.
Step 4
Sew the flowers onto the skirt. Depending on the size(s) of your flowers, you might choose to arrange them without any overlapping.
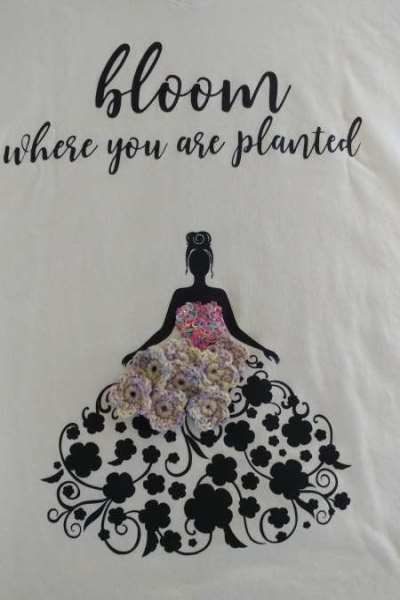
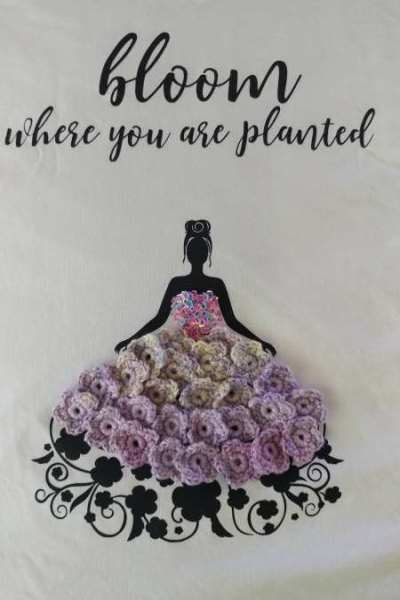
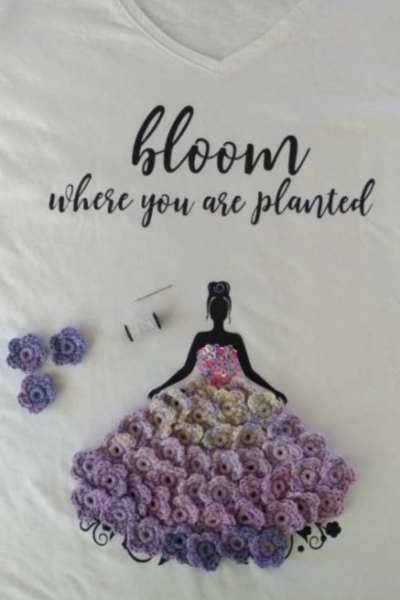
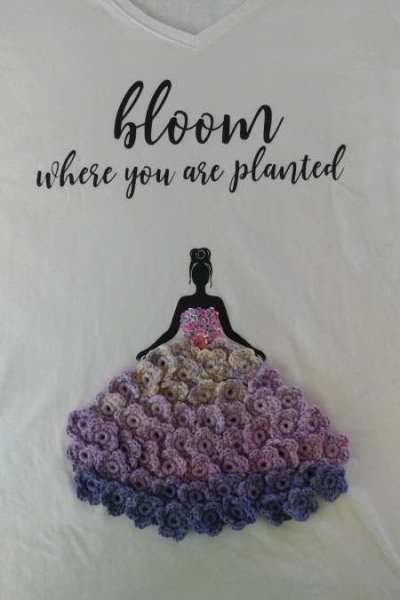
There you go, a perfect stay-at-home DIY project – a mixed-media embellishment you can apply to a T-shirt, a bag, or even a canvas just like in the original. I’m already crocheting a bunch of these teeny tiny flowers for the next T-shirt and I’m thinking of turning the skirt into a kangaroo pocket. How about that?


Leave a Reply